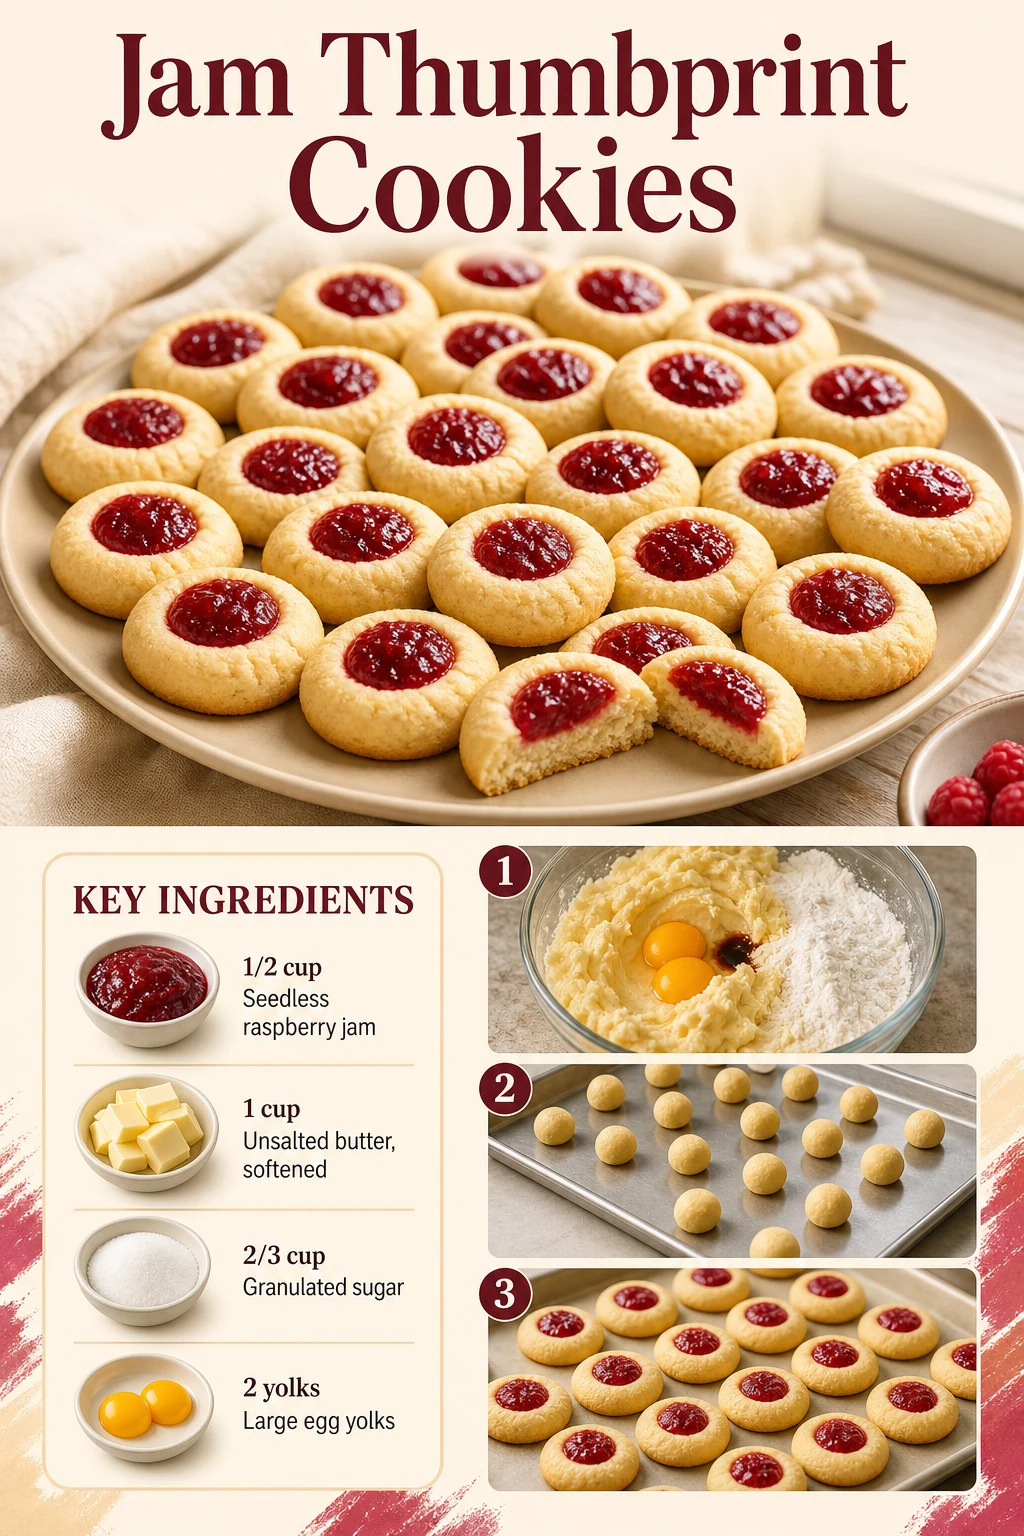
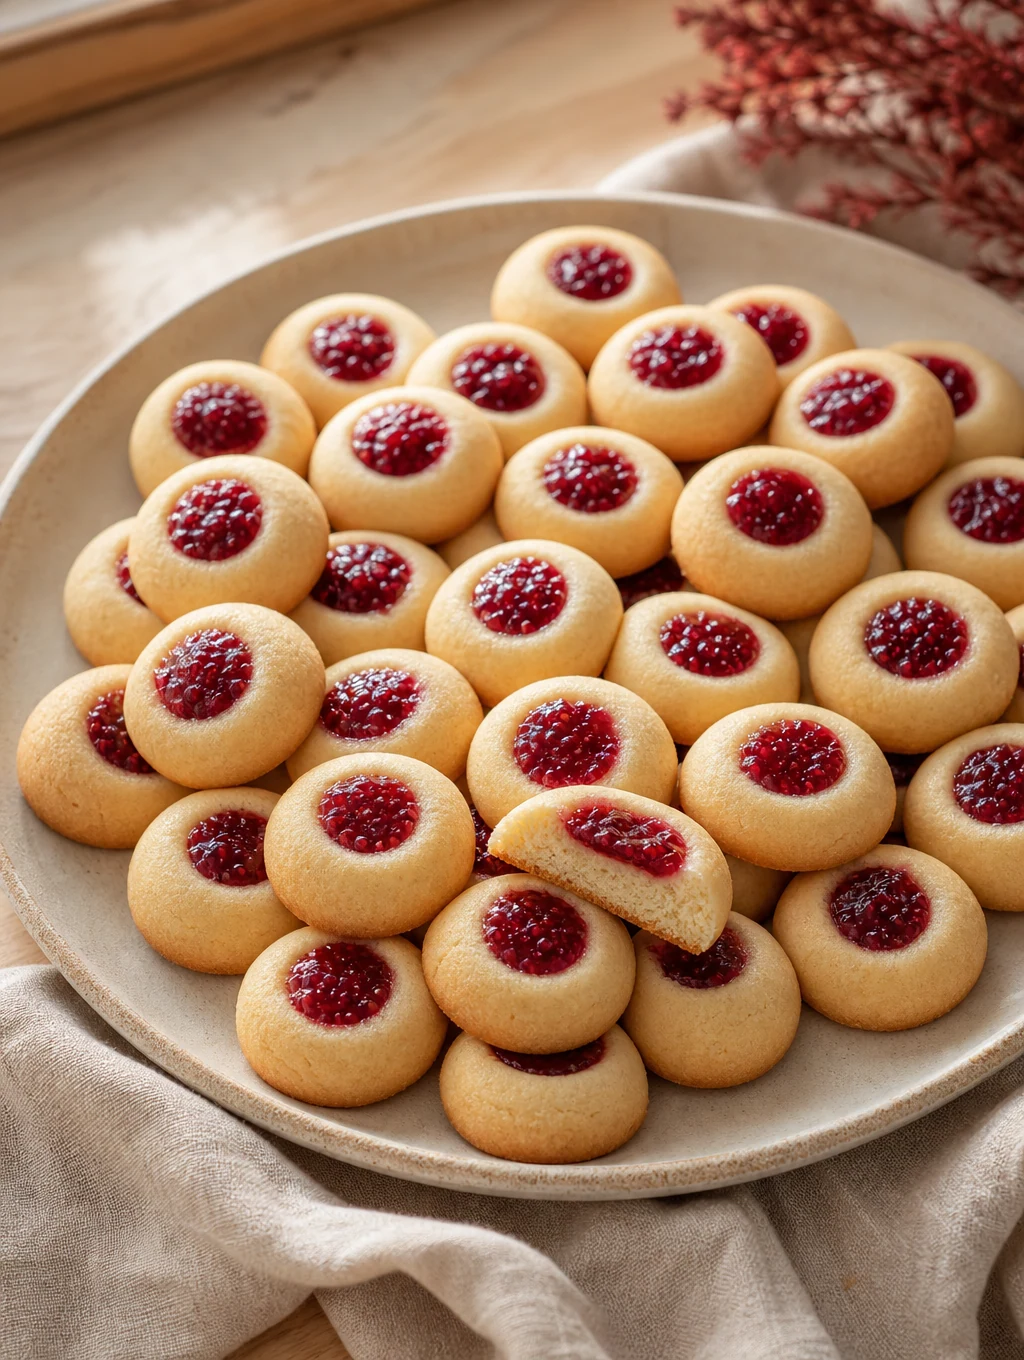
Jam thumbprint cookies are small, buttery rounds with a bright raspberry center. This working batch makes an estimated thirty cookies from one dough and a measured half cup of seedless raspberry jam. Press a hollow into each ball, chill it, then fill and bake until the edges are lightly golden. The cookies should stay tender enough to bite without the jam spreading across the whole sheet. Dough shape, jam amount and final yield need a baking test before the recipe is presented as proven.
Jump to ingredients · Jump to method
A thumbprint that holds the jam
Use approximately one tablespoon dough per cookie and press a well with a clean thumb or the rounded end of a small measuring spoon. Stop short of the baking sheet: a hole through the dough would let jam run underneath. If the edge cracks, gently pinch it together. A thirty-minute chill after shaping helps the rounds retain their outline when they enter the oven. Jam goes into the chilled wells immediately before baking, not into a warm, soft cookie that may spread.
Seedless raspberry jam is the one flavor in this base recipe. Two differently colored jams would make a pretty photo but would also require two measured ingredients and a new title or variation. The half cup is divided across thirty wells, just under one teaspoon per cookie. Fill to the rim without piling up a dome; heated jam can bubble. A first batch should record how much jam actually remains in the measuring cup.
Ingredients for an estimated 30 cookies
| Ingredient | Amount | Purpose |
|---|---|---|
| Unsalted butter, softened | 1 cup (2 sticks) | Cream with sugar; not melted. |
| Granulated sugar | ⅔ cup | Sweetness and structure. |
| Large egg yolks | 2 | Bind tender dough; whites not used. |
| Vanilla extract | 1 tsp | Background flavor. |
| All-purpose flour | 2 cups | Measure consistently. |
| Fine salt | ¼ tsp | Balance. |
| Seedless raspberry jam | ½ cup | Just under one teaspoon per well. |
Use a mixer or sturdy spoon, tablespoon measure, two parchment-lined baking sheets, small spoon and cooling rack. Have room in the refrigerator for the shaped sheets. Butter and egg yolks contribute milk and egg allergens; flour supplies wheat. Read the jam label if serving someone with other ingredient concerns. No nuts are intentionally in this formula, but a shared kitchen or packaged ingredient can introduce cross-contact, so avoid an unqualified “nut-free” claim.
Cream, shape, fill and bake
- Make the dough. Beat one cup softened unsalted butter with two-thirds cup granulated sugar until combined and a little lighter. Mix in two large egg yolks and one teaspoon vanilla. Add two cups flour and a quarter teaspoon fine salt; mix just until no dry flour remains. Do not taste the raw dough; the FDA’s flour guidance explains why raw flour mixtures should not be eaten.
- Shape thirty rounds. Divide into an estimated thirty approximately tablespoon-sized pieces, roll lightly and place with space between them on two lined sheets. Press a well into the top of each without going through the bottom. Pinch any large cracks at the rim.
- Chill and heat. Refrigerate the shaped cookies for approximately thirty minutes. Heat the oven to 350°F near the end of the chill. Stir the measured half cup jam until spoonable; do not add water or lemon juice without revising the ingredient list.
- Fill and bake. Spoon just under one teaspoon raspberry jam into each chilled hollow, dividing the half cup across thirty cookies. Bake one sheet at a time on the center rack for an estimated twelve to fourteen minutes, until edges are lightly golden and centers are set. The jam may bubble; let it settle on the sheet. Allow up to thirty minutes oven time for two sequential sheets.
- Cool. Rest the cookies on their sheets for five minutes, then transfer carefully to a rack. Let the jam cool and set fully before stacking, working allowance about thirty minutes total cooling. Count the actual cookies and note any leaking wells before assigning an image brief to a final batch.
The portable working total is 120 minutes: thirty minutes active mixing and shaping, thirty minutes dough chilling, thirty minutes for two sequential oven sheets, and thirty minutes to cool jam-topped cookies before packing. Oven heat-up can overlap chilling. A third sheet, very soft dough or slower jam cooling will make the elapsed time longer. The test should distinguish cookies ready to taste from cookies cool enough to package.
What to change when the first tray disagrees
Cookies spread too wide: check that the butter was softened rather than melted, and chill the shaped dough fully. Jam floods over the sides: press deeper wells without piercing, use the measured amount and do not mound the filling. Rims split: press the dough together gently while shaping; a few small cracks are part of the handmade look, but a broken wall cannot hold jam. Bottoms brown before the tops set: use a center rack and a lighter baking sheet, and record actual oven time.
Strawberry or apricot jam may make a reasonable variation, but their sweetness, color and thickness differ. Use the same measured half cup only as a new test, then update the photo and title if that becomes the featured version. Lemon zest, almond extract and rolled nuts are not hidden steps in this raspberry base. An almond-extract version would require flavor and allergy review; a nut coating would make a materially different cookie.
Gift-box serving and storage
Cool the jam completely before layering cookies with parchment in a sturdy box. A soft center will smear if stacked too soon. For a contrasting cookie on a mixed plate, Chefly’s published Earl Grey cookies are a distinct tea-flavored option, not an alternate thumbprint page. Label wheat, milk and egg with any gift, and check the recipient’s needs and ingredient packaging.
A precise room-temperature quality window, refrigerator texture and freeze/thaw result have not been established for this batch. Do not print a confident shelf life on a gift label until the jam and cookie are tested together. Keep raw dough and baked cookies on separate clean equipment. The first photo should depict one red raspberry jam center per cookie, not a variety assortment that the measured recipe does not make.
Jam thumbprint questions
Can I fill the cookies after baking?
That would be a different assembly with unbaked jam in the center. The working method fills chilled wells before the cookies enter the oven, so the topping warms as the dough bakes.
Why chill after making the wells?
Cold shaped dough is more likely to keep a defined rim during its initial oven spread. The first test should confirm whether the thirty-minute chill is enough for the chosen butter and room temperature.
How much jam goes in each?
Divide half a cup across about thirty cookies, just under one teaspoon per well. Count actual yield first and keep the jam below the rim if the wells are smaller than expected.
Recipe-card handoff: Seven ingredients, five stages and an estimated thirty cookies are in the portable object. The 120-minute total includes chilling, sequential baking and cooling, but awaits a real clocked batch. Nutrition numbers are omitted because final yield and retained jam amount are unmeasured.
Print
Jam Thumbprint Cookies
- Total Time: 120 minutes
- Yield: 30 servings 1x
Description
Small butter cookies with pressed wells filled with seedless raspberry jam before baking.
Ingredients
- 1 cup Unsalted butter, softened
- 2/3 cup Granulated sugar
- 2 yolks Large egg yolks
- 1 teaspoon Vanilla extract
- 2 cups All-purpose flour
- 1/4 teaspoon Fine salt
- 1/2 cup Seedless raspberry jam
Instructions
- Beat 1 cup softened unsalted butter with ⅔ cup granulated sugar until combined and slightly lighter; mix in 2 egg yolks and 1 tsp vanilla. Stir in 2 cups flour and ¼ tsp salt just until no dry flour remains.
- Portion into approximately 30 tablespoon-size balls on two parchment-lined sheets. Press a well in each top without piercing base, pinching large rim cracks closed.
- Chill shaped dough approximately 30 minutes; heat oven to 350°F near end of chill.
- Divide ½ cup seedless raspberry jam into the 30 wells, just under 1 tsp each. Bake one sheet at a time on center rack, approximately 12–14 minutes per sheet, until edges lightly golden. Allow up to 30 minutes oven time.
- Rest on sheets 5 minutes, transfer carefully to rack and cool fully until jam is set, approximately 30 minutes total cooling before stacking.
Notes
Recipe-development draft; not kitchen-tested. Timing and yield are estimates. Nutrition has not been calculated.
Additional chilling, resting or cooling time: 60 minutes, included in the total.
Untested estimate: 30 active, 30 shaped-dough chill, up to 30 sequential baking, 30 jam/cookie cool for packing.
- Prep Time: 30 minutes
- Chilling, resting or cooling: 60 minutes
- Cook Time: 30 minutes
Nutrition
- Serving Size: One approximately tablespoon-size cookie with just under a teaspoon of jam; actual yield pending