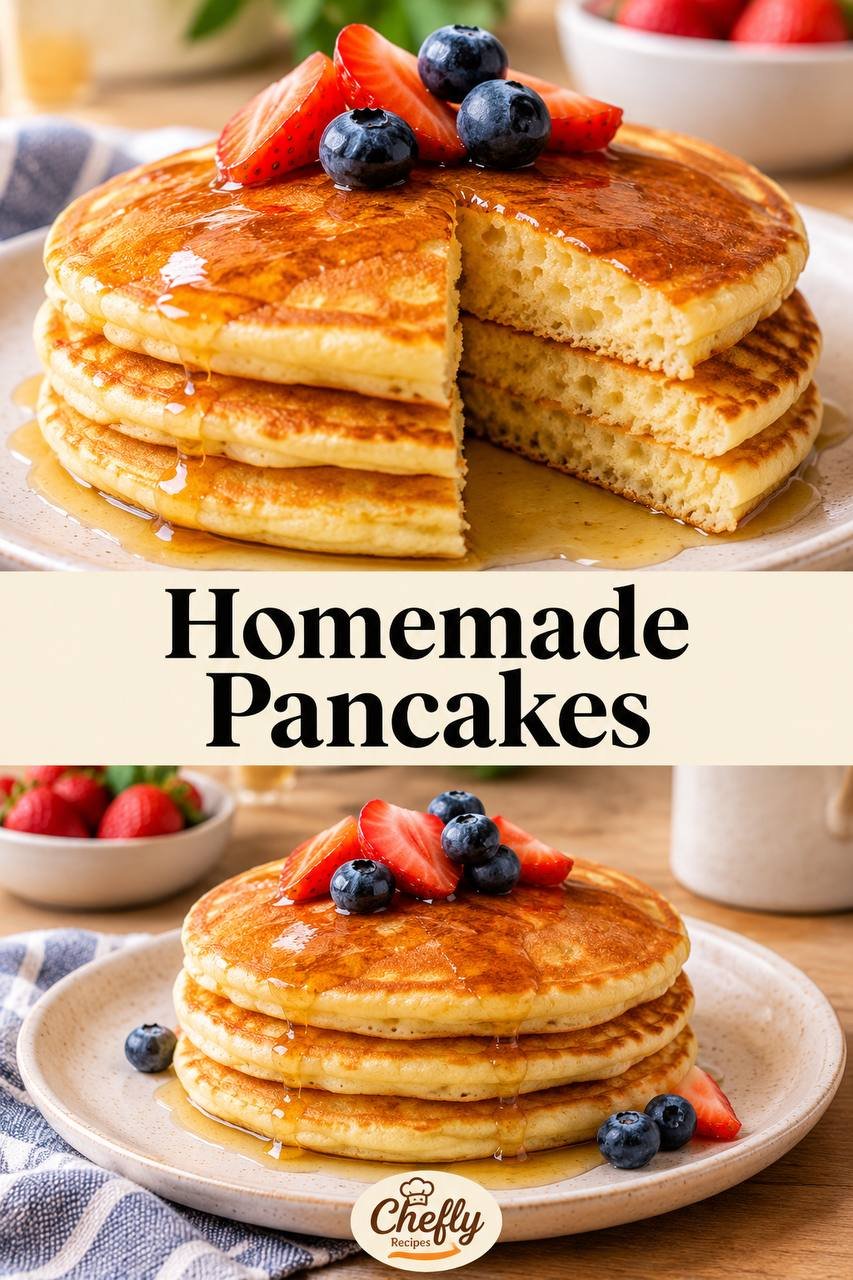
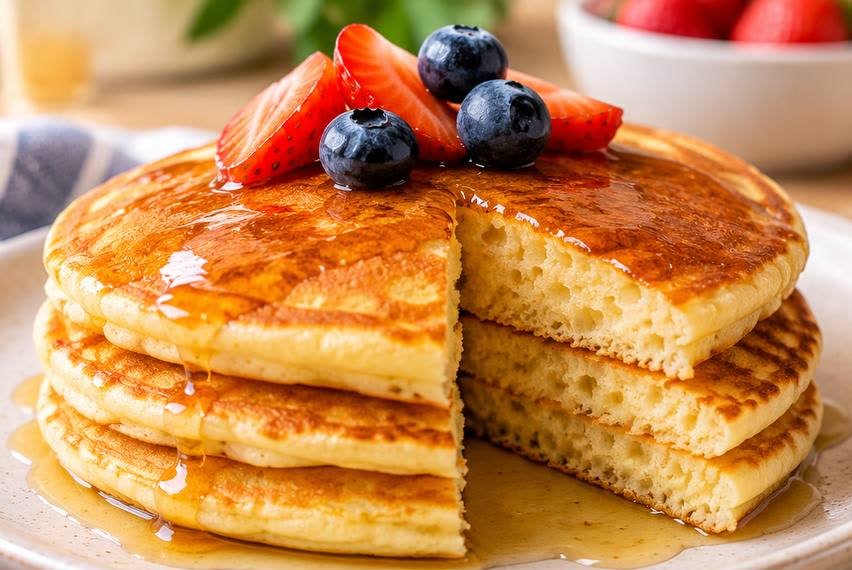
Homemade pancakes need not rely on a boxed mix or a crowded list of additions. These are a straightforward buttermilk stack with golden surfaces and a tender, airy middle. The batter comes together in two bowls, rests briefly, and cooks in small rounds on a moderately heated skillet. A little melted butter in the batter supplies richness; berries and maple syrup are serving choices, not hidden ingredients in the pancakes themselves. The accompanying pictures show both a cut stack and a whole plate, so this recipe focuses on a pancake that stays thick enough to cut cleanly without turning heavy.
Jump to the recipe card for the exact batter and cooking sequence. The guide below explains how to adjust heat, judge the first pancake, and keep the last one as good as the first.
Why these pancakes work
Buttermilk adds tang and moisture. Together with baking soda and baking powder, it helps a thick batter rise on the griddle. It also gives a flavor that stands up to a little syrup without becoming cloying. The dry and wet ingredients are combined only until the flour is moistened. Lumps are not a mistake; aggressive whisking produces a smoother-looking bowl but can give you a less tender result.
A ten-minute rest is built into the estimate. During that time the flour hydrates and the batter becomes slightly more cohesive. You can prepare fruit, warm plates, and bring the skillet to temperature while it rests. If the batter thickens substantially while standing, do not pour in a large unmeasured quantity of milk. Start by cooking one test pancake. A batter that holds its shape but spreads into a roughly four-inch round is appropriate.
The first pancake is a heat gauge. If the outside darkens before bubbles form and the middle can set, reduce the heat. If a puddle of batter sits pale for several minutes, increase it slightly. Because stoves, cast iron, and nonstick surfaces differ, a heat level such as “medium” is a starting point, not an exact temperature. Wiping away excess butter between batches prevents small burned milk solids from marking the next pancakes.
Ingredients and practical notes
| Ingredient | Amount | Role |
|---|---|---|
| All-purpose flour | 2 cups (240 g) | Builds the pancake body; weigh if possible. |
| Granulated sugar | 2 tablespoons | Lightly sweetens and promotes browning. |
| Baking powder | 1 tablespoon | Gives lift. |
| Baking soda | ½ teaspoon | Reacts with acidic buttermilk. |
| Fine salt | ¾ teaspoon | Balances the batter. |
| Large eggs | 2 | Bind and enrich the pancakes. |
| Buttermilk | 1¾ cups | Adds moisture and acidity. |
| Unsalted butter, melted and cooled slightly | 4 tablespoons (57 g) | Keeps the crumb tender and adds flavor. |
| Vanilla extract | 1 teaspoon | Adds a gentle aroma. |
| Butter or neutral oil for pan | As needed, about 1–2 teaspoons per batch | A thin film prevents sticking. |
| Berries, butter, or maple syrup | Optional, for serving | Match the pictured presentation if desired. |
The base batter makes approximately twelve four-inch pancakes, or four servings of three. A wider pour makes fewer, larger pancakes and may need a longer, lower-heat cook. Serving size is a kitchen planning tool, not a promise that every scoop will be identical. Use a level ¼-cup measure per pancake for a consistent starting point; the actual diameter depends on how thick the batter is.
Fresh leavening is worth checking. Baking powder that has been open a long time may give disappointing height. Measure the tablespoon level rather than heaped; more is not necessarily better and can leave an off taste. Whisk the dry ingredients especially well so baking soda is not concentrated in a few bites. Shake the buttermilk carton before measuring if it has separated.
If avoiding alcohol-derived vanilla, use an alcohol-free vanilla flavoring whose ingredients you have checked, or omit it. There is no wine, pork, or gelatin in the base formula. Product sourcing and cross-contact are still individual purchasing matters; a recipe cannot certify an entire kitchen or brand as halal. For a dairy-free pancake, an acidified plant milk and alternative fat need a separate trial; their protein, acidity, flavor, and browning can differ, so do not assume an exact one-for-one outcome from this buttermilk method.
Set up your skillet
A heavy nonstick skillet, well-seasoned cast-iron pan, or electric griddle works. If your surface is large enough, cook two or three pancakes at a time with room to flip. Crowding makes the spatula awkward and can lower pan temperature. A thin, broad turner is more reliable than a small spoon. Keep a dry towel or paper towel nearby to wipe out dark specks between batches, taking care with a hot pan.
Preheat over medium-low to medium heat for a few minutes. Lightly grease the pan and spread the fat into a thin, even film. You want a quiet sizzle when batter lands, not a cloud of smoke. A thick pool of butter will fry an uneven, dark ring around each pancake. If your stove runs hot, use a lower dial setting than you might for eggs.
If serving the entire batch at once, set the oven to a low warming setting, approximately 200°F (95°C), and place a rack over a sheet pan inside. Keep cooked pancakes in a single layer while the rest cook, then serve promptly. Avoid a tall stack in the oven: trapped steam softens the browned faces. This warming step is optional and adds no extra minutes when done during cooking.
Step-by-step method
1. Whisk the dry bowl. Combine flour, sugar, baking powder, baking soda, and salt in a large bowl. Break up obvious lumps of flour. There is no need to sift if the mixture whisks evenly, but do not skip distributing the leaveners.
2. Mix the wet bowl. In a second bowl, whisk eggs, buttermilk, cooled melted butter, and vanilla. The butter should be warm enough to remain liquid but not so hot that it starts cooking the eggs. If it beads a little in cool buttermilk, keep mixing gently; the batter can still come together.
3. Combine and rest. Pour the wet mixture into the dry ingredients. Fold with a spatula until no large dry pockets remain. Small lumps are welcome. Set the bowl aside for 10 minutes. Do not beat it again after resting; a gentle fold is enough if a little liquid has settled on top.
4. Cook a test pancake. Grease the preheated skillet lightly. Pour ¼ cup batter and let it spread naturally; do not press it thin with the measuring cup. Cook for an estimated 2–3 minutes on the first side. The edge should look less glossy and small bubbles should appear and begin to pop. The underside should be golden, not charred.
5. Flip once. Slide a broad spatula fully underneath, turn decisively, and cook the other side for about 1–2 minutes. Check the center of the first pancake if you are unsure: it should be cooked through, not wet batter. Adjust the heat for subsequent rounds. Do not flatten pancakes with the spatula; pressing drives out steam and compromises their height.
6. Finish the batch. Repeat with the remaining batter, keeping the pan lightly greased and wiping away burned bits when needed. The estimated cooking time is about 20 minutes for twelve pancakes in several rounds; one small skillet may take longer. Serve warm with a pat of butter, berries, and maple syrup if you like. Those toppings are optional and are not included in any nutrition figures.
The dough-like appearance of a thick batter can tempt you to thin it immediately. Let the first round tell you what is needed. If it will not spread at all from a level quarter cup, stir in buttermilk one tablespoon at a time; note that this changes the measured base. If it runs across the pan like crepe batter, recheck your flour measurement and avoid adding more liquid. A little unevenness is normal in a homemade pancake.
How to read the cooking cues
Bubbles alone are not a perfect flipping signal. Look for several clues together: the surface has visible bubbles, the edge is becoming matte rather than liquid, and the underside is evenly colored when you lift a corner. Some batters bubble before the middle has set; flipping then can spill raw batter. Other pans brown the underside so quickly that waiting for every bubble to pop burns the first side. Adjust heat and use your eyes.
When the top looks dry but the pancake does not release, the pan may be under-greased or the coating damaged. Give it a few more seconds and ease the turner around the edge. For cast iron, a thoroughly preheated, well-seasoned surface and a small amount of oil help. If the pancake tears, do not chase a flawless photo; taste the cooked test piece and correct the heat before proceeding.
An uneven pale ring inside a dark outer edge usually signals too much surface heat. Lower the flame and give the pan a minute to settle. If pancakes are light in color and dense, the heat may be too low, the leavening may be old, or the batter may have been overmixed. Only one factor can be corrected mid-batch: pan temperature. Keep the recipe ratio stable until you have assessed a whole cooked pancake.
Sensible swaps and toppings
For a slightly different flavor, replace a small portion of the vanilla with finely grated lemon zest. Zest adds aroma without thinning the batter. Fold a modest handful of blueberries into individual pancakes after pouring, rather than stirring a large quantity into the bowl; this spreads fruit more evenly and prevents juice from coloring every pancake. The photographed examples have berries on top, not baked through the center, so plain pancakes with fresh berries are the faithful base presentation.
Maple syrup and butter on the plate are optional. Warm syrup gently if you like, but do not heat a plastic bottle in the microwave unless its label permits it. Sliced strawberries, blueberries, or a spoonful of yogurt add contrast. A topping with nuts, dairy, or a flavored spread introduces additional allergens. List those ingredients when serving guests instead of assuming the base allergen note covers the entire plate.
If you only have regular milk, a quick acidified substitute changes taste and reaction compared with cultured buttermilk. You can mix 1¾ cups milk with about 1½ tablespoons lemon juice, allow it to stand briefly, and use it in the batter, but treat that as a variation rather than promising identical texture. Do not use wine or vinegar derived from wine for this substitution. In the original formula, buttermilk is the ingredient the baking soda expects.
Whole-wheat flour absorbs more liquid and can make a denser pancake. Replacing a small portion is easier to evaluate than replacing all of it. Gluten-free blends vary widely, so there is no verified gluten-free claim for this recipe. For an egg-free or dairy-free version, choose a purpose-built tested recipe if consistency or allergen exclusion is essential; the proportions and cooking cues here are written for the listed eggs and buttermilk.
Serving alongside other Chefly breakfasts
This is the straightforward everyday stack. Chefly’s ricotta lemon pancakes take a brighter, richer route, while gingerbread pancakes make sense when you want warm spices. For a playful holiday plate, Santa pancakes are a separate presentation idea. Each is a different recipe or presentation, not an ingredient variation silently folded into this base formula.
Serve the pancakes as they come off the skillet if your table is nearby. If they need to wait, use the single-layer rack method above. Set berries and syrup out separately so each person can choose a portion. If you want a more savory breakfast plate, keep the pancake toppings simple; the vanilla and small amount of sugar in the base make it mildly sweet, not a neutral flatbread.
Storing and reheating
Cool leftover pancakes before packing them in a covered container. Because these contain cooked eggs and dairy, refrigerate promptly rather than leaving a stack out through a long brunch. The FDA recommends refrigerating perishable cooked foods within two hours, or within one hour in temperatures above 90°F (32°C). Use refrigerated pancakes within a few days for best texture and follow safe leftover handling. The FoodSafety.gov chart provides cold-storage guidance for ingredients and prepared foods.
For longer storage, separate completely cooled pancakes with small pieces of parchment and freeze in a sealed bag. Reheat from chilled in a dry skillet over low heat, turning once, or use a toaster setting that does not burn the edges. A microwave is convenient but makes the surface softer; cover loosely and heat evenly. For food safety, the FoodSafety.gov chart lists 165°F (74°C) for leftovers. Use a food thermometer when checking a reheated batch, especially thick pancakes. Add fresh berries and syrup only after reheating.
Avoid placing freshly cooked, steaming pancakes straight into a tightly closed container. Condensation makes the edges damp and can spoil the golden finish you worked for. Likewise, do not freeze them with syrup already poured over them. Separate toppings give you better texture and let you label allergens and ingredients accurately.
Frequently asked questions
Why are my pancakes flat?
Check the age and amount of baking powder, then look at mixing and pan temperature. Overmixing can toughen the batter, and a pan that is not warm enough may allow the round to spread before it sets. The ten-minute rest is part of this formula. If your batter sat for hours after leavening, a new batch may perform better than adding extra powder at the end.
Can I make the batter the night before?
For the most predictable lift, mix dry and wet bowls separately, refrigerate the wet mixture safely, and combine shortly before cooking. A fully mixed batter loses some of its leavening action and can thicken overnight. Keep the egg-and-dairy mixture refrigerated and use it promptly. You can also cook the pancakes, cool them, and reheat the finished batch instead.
Should I add the berries to the batter or the plate?
Either can work, but these images show a plain stack garnished with berries. On the plate, fruit stays bright and the pancake cooks evenly. If adding blueberries to the batter, scatter them over each poured round before flipping and watch for hot juice. Do not add so much fruit that the middle is surrounded by wet pockets.
How do I keep the stack warm without drying it?
Place finished pancakes in one layer on a rack in a low oven while you finish the batch. Avoid extended holding. A piled stack traps steam; a very hot oven continues to cook and dry them. Prepare syrup, fruit, and plates ahead so the waiting period is brief.
Recipe development note
This recipe has not been kitchen-tested by Chefly. Timing is estimated for a skillet that fits two or three four-inch pancakes at a time. A single small pan, a larger portion, or a low-powered stove will change it. Numerical nutrition is omitted because serving mass, specific buttermilk and butter brands, and optional toppings have not been measured for a defensible calculation.
PrintHomemade Pancakes with Fluffy Centers and Golden Edges
- Total Time: 45 minutes
- Yield: Approximately 12 four-inch pancakes (4 servings) 1x
Description
Golden, fluffy four-inch buttermilk pancakes; fruit and syrup are optional toppings.
Ingredients
- 2 cups (240 g) All-purpose flour
- 2 tablespoons Granulated sugar
- 1 tablespoon Baking powder
- 0.5 teaspoon Baking soda
- 0.75 teaspoon Fine salt
- 2 Large eggs
- 1.75 cups Buttermilk
- 4 tablespoons (57 g) Unsalted butter, melted and slightly cooled
- 1 teaspoon Vanilla extract or checked alcohol-free vanilla flavoring
- as needed Butter or neutral oil for pan
- for serving Berries, butter, maple syrup (optional)
Instructions
- Whisk flour, sugar, baking powder, baking soda, and salt in a large bowl.
- Whisk eggs, buttermilk, melted butter, and vanilla in a second bowl.
- Fold wet ingredients into dry until no large dry patches remain; small lumps are fine. Rest 10 minutes.
- Preheat a lightly greased skillet over medium-low to medium heat. Pour ¼ cup batter for each pancake.
- Cook an estimated 2–3 minutes until edges look less glossy and bubbles begin to pop. Flip once and cook about 1–2 minutes until the center is cooked through. Adjust heat after a test pancake.
- Repeat with remaining batter; keep finished pancakes in one layer on a rack in a low oven if needed. Serve with optional toppings.
Notes
Not kitchen-tested. All times are estimates and include a 10-minute batter rest. Contains wheat, milk, and egg. Optional toppings may add allergens. Refrigerate promptly within 2 hours (1 hour above 90°F / 32°C). Reheat leftovers to 165°F / 74°C. Numerical nutrition has not been calculated.
- Prep Time: 15 minutes
- Rest Time: 10 minutes
- Cook Time: 20 minutes
- Category: Breakfast
- Method: Stovetop
- Cuisine: American